- ×
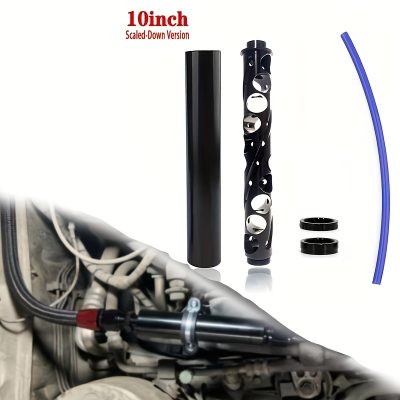
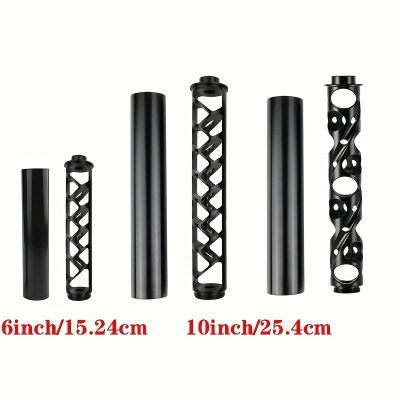
 6inch Stainless Steel Fuel Filter 9mm Hole Baffle Cups 1 2 28 5 8x24 Oil Filters Reduce The Noise Created By Cars 1 × 278,70 $
 - ×
 Dual USB Port Charger Dashboard Mount Car Panel USB Connector For Phone Audio Input for Toyota VIGO 1 × 494,90 $
 - ×
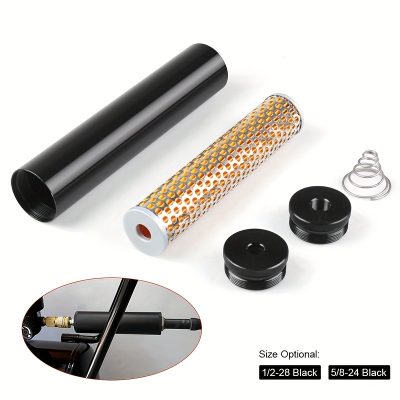
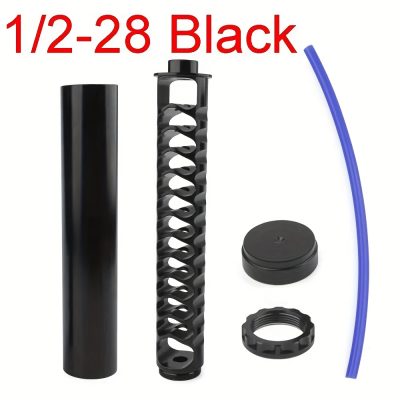
 12 Inch Fuel Filter 1 2 28 5 8 24 Solvent Trap NAPA 4003 WIX 24003 Reduce The Noise Created By Cars 1 × 76,50 $
 - ×
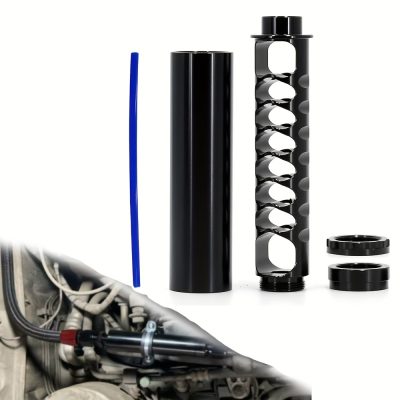
 6 Inch New 1 2 28 5 8 24 Single Core Aluminum Tube Car Fuel Filter For NaPa 4003 WIX 24003 Solvent Black Reduce The Noise Created By Cars 1 × 49,50 $
Subtotal: 899,60 $

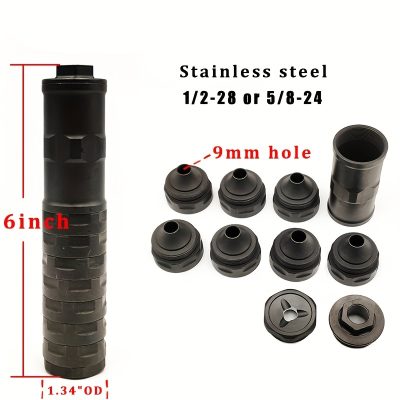 6inch Stainless Steel Fuel Filter 9mm Hole Baffle Cups 1 2 28 5 8x24 Oil Filters Reduce The Noise Created By Cars
 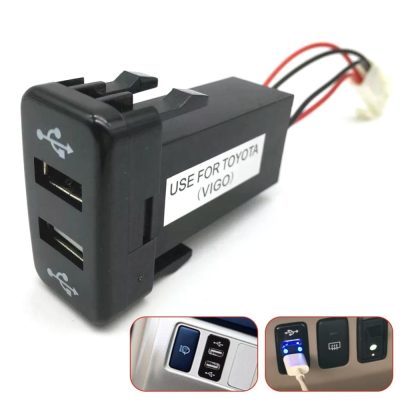 Dual USB Port Charger Dashboard Mount Car Panel USB Connector For Phone Audio Input for Toyota VIGO
 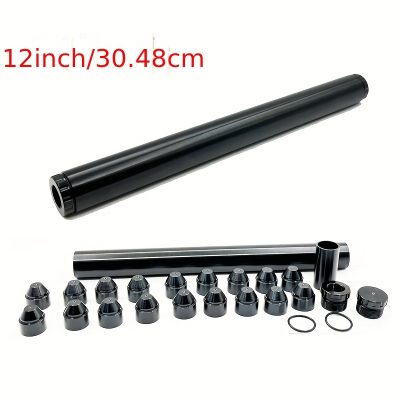 12 Inch Fuel Filter 1 2 28 5 8 24 Solvent Trap NAPA 4003 WIX 24003 Reduce The Noise Created By Cars
 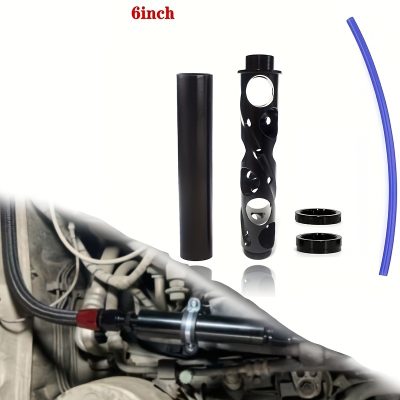 6 Inch New 1 2 28 5 8 24 Single Core Aluminum Tube Car Fuel Filter For NaPa 4003 WIX 24003 Solvent Black Reduce The Noise Created By Cars


R***M –
Worst item , no instructions and no primer.
Not even an installation video, it scratched my car. Do not buy this
rrivers3 –
Excellent
J***e –
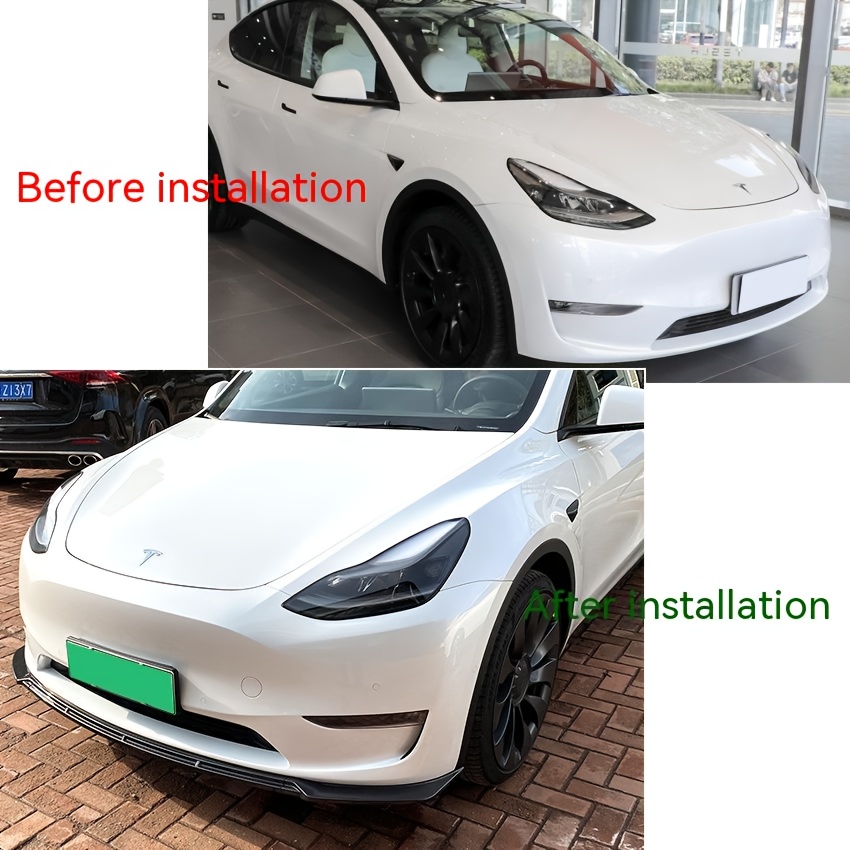
This basic front lip took me about 2 hours to install on my MYP, but I think it came out alright. The material is made of 3 pieces of flexible plastic and the paint appears to be a good layer of glossy black paint. If you want it to fit from end to end you’ll need 2 clamps to secure them with the supplied 3M double sided tape. I bought some extra 3M VHB .6 inch tape to give it some extra strength. When removing the 3M tape, pull off a little tail at one end, so when it’s flushed against the body at where you want it – start pulling the tape so it stays at that position. I also had to buy some Adhesion Promoter pads from Amazon to apply on the bare bottom plastic part of the Tesla. Make sure to test fit first. The kit came with what looks like a .25” roll of double sided tape (enough to run across one time and for the end pieces, 4 small screws for attaching each panel together and 12 larger screws with washers, on the underside of the spoiler are some oval markings, I just used those as a guide as to where to screw it down. I did not use all 12 large screws, at the end of each side, I chose to use a small black screw, it just looked better. Anyways, hope this is helpful.